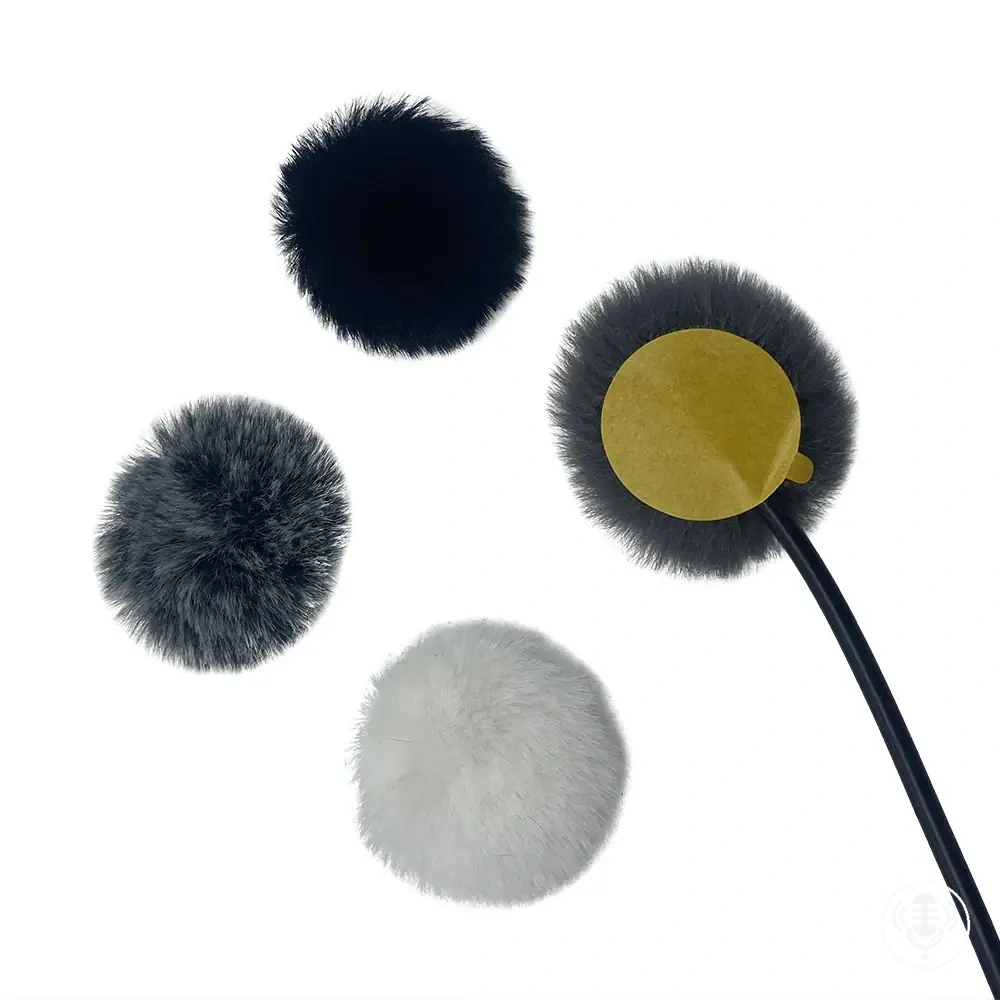
Foam windscreen
- Best fit
- Sheltered conditions with light airflow.
- Verify
- Secure coverage over the intended capsule area without blocking required openings.
- Move up when
- Direct or turbulent wind becomes persistent or audible wind artifacts remain.
Choose wind protection by wind exposure and microphone fit: use foam for sheltered light airflow, a fitted furry windscreen for moderate outdoor wind, and a blimp windshield for stronger exposed wind, particularly with shotgun microphones. The protection should stay secure, keep capsules and acoustic openings clear, and be upgraded or repositioned if monitoring still reveals gust-related rumble or bursts.
Choose the protection level that fits the exposure
Start with the wind reaching the microphone, then confirm physical compatibility and monitor the recording. These are practical protection classes, not universal wind-speed thresholds.
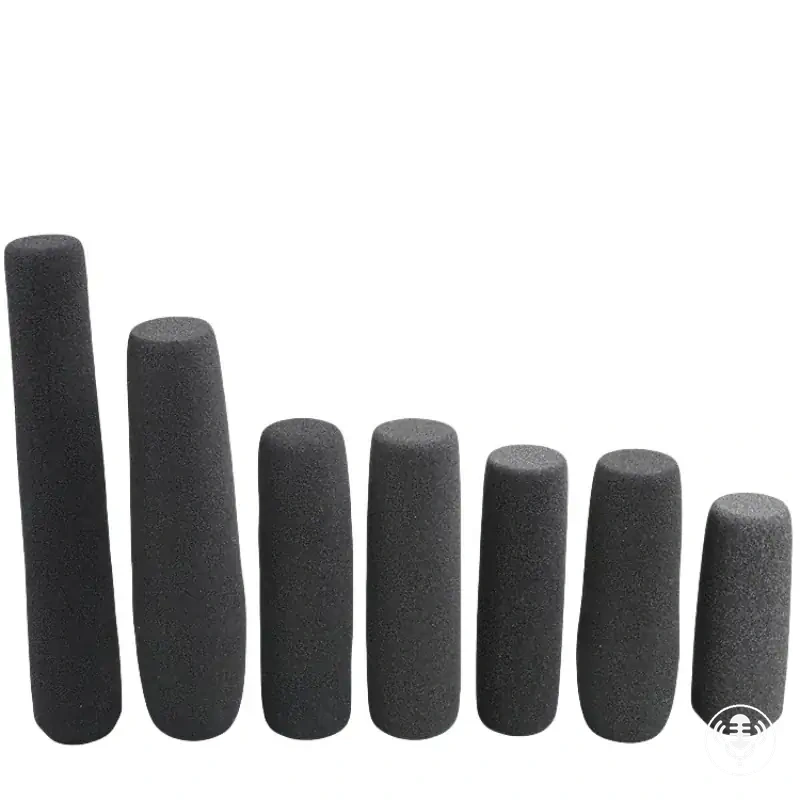
Foam windscreen
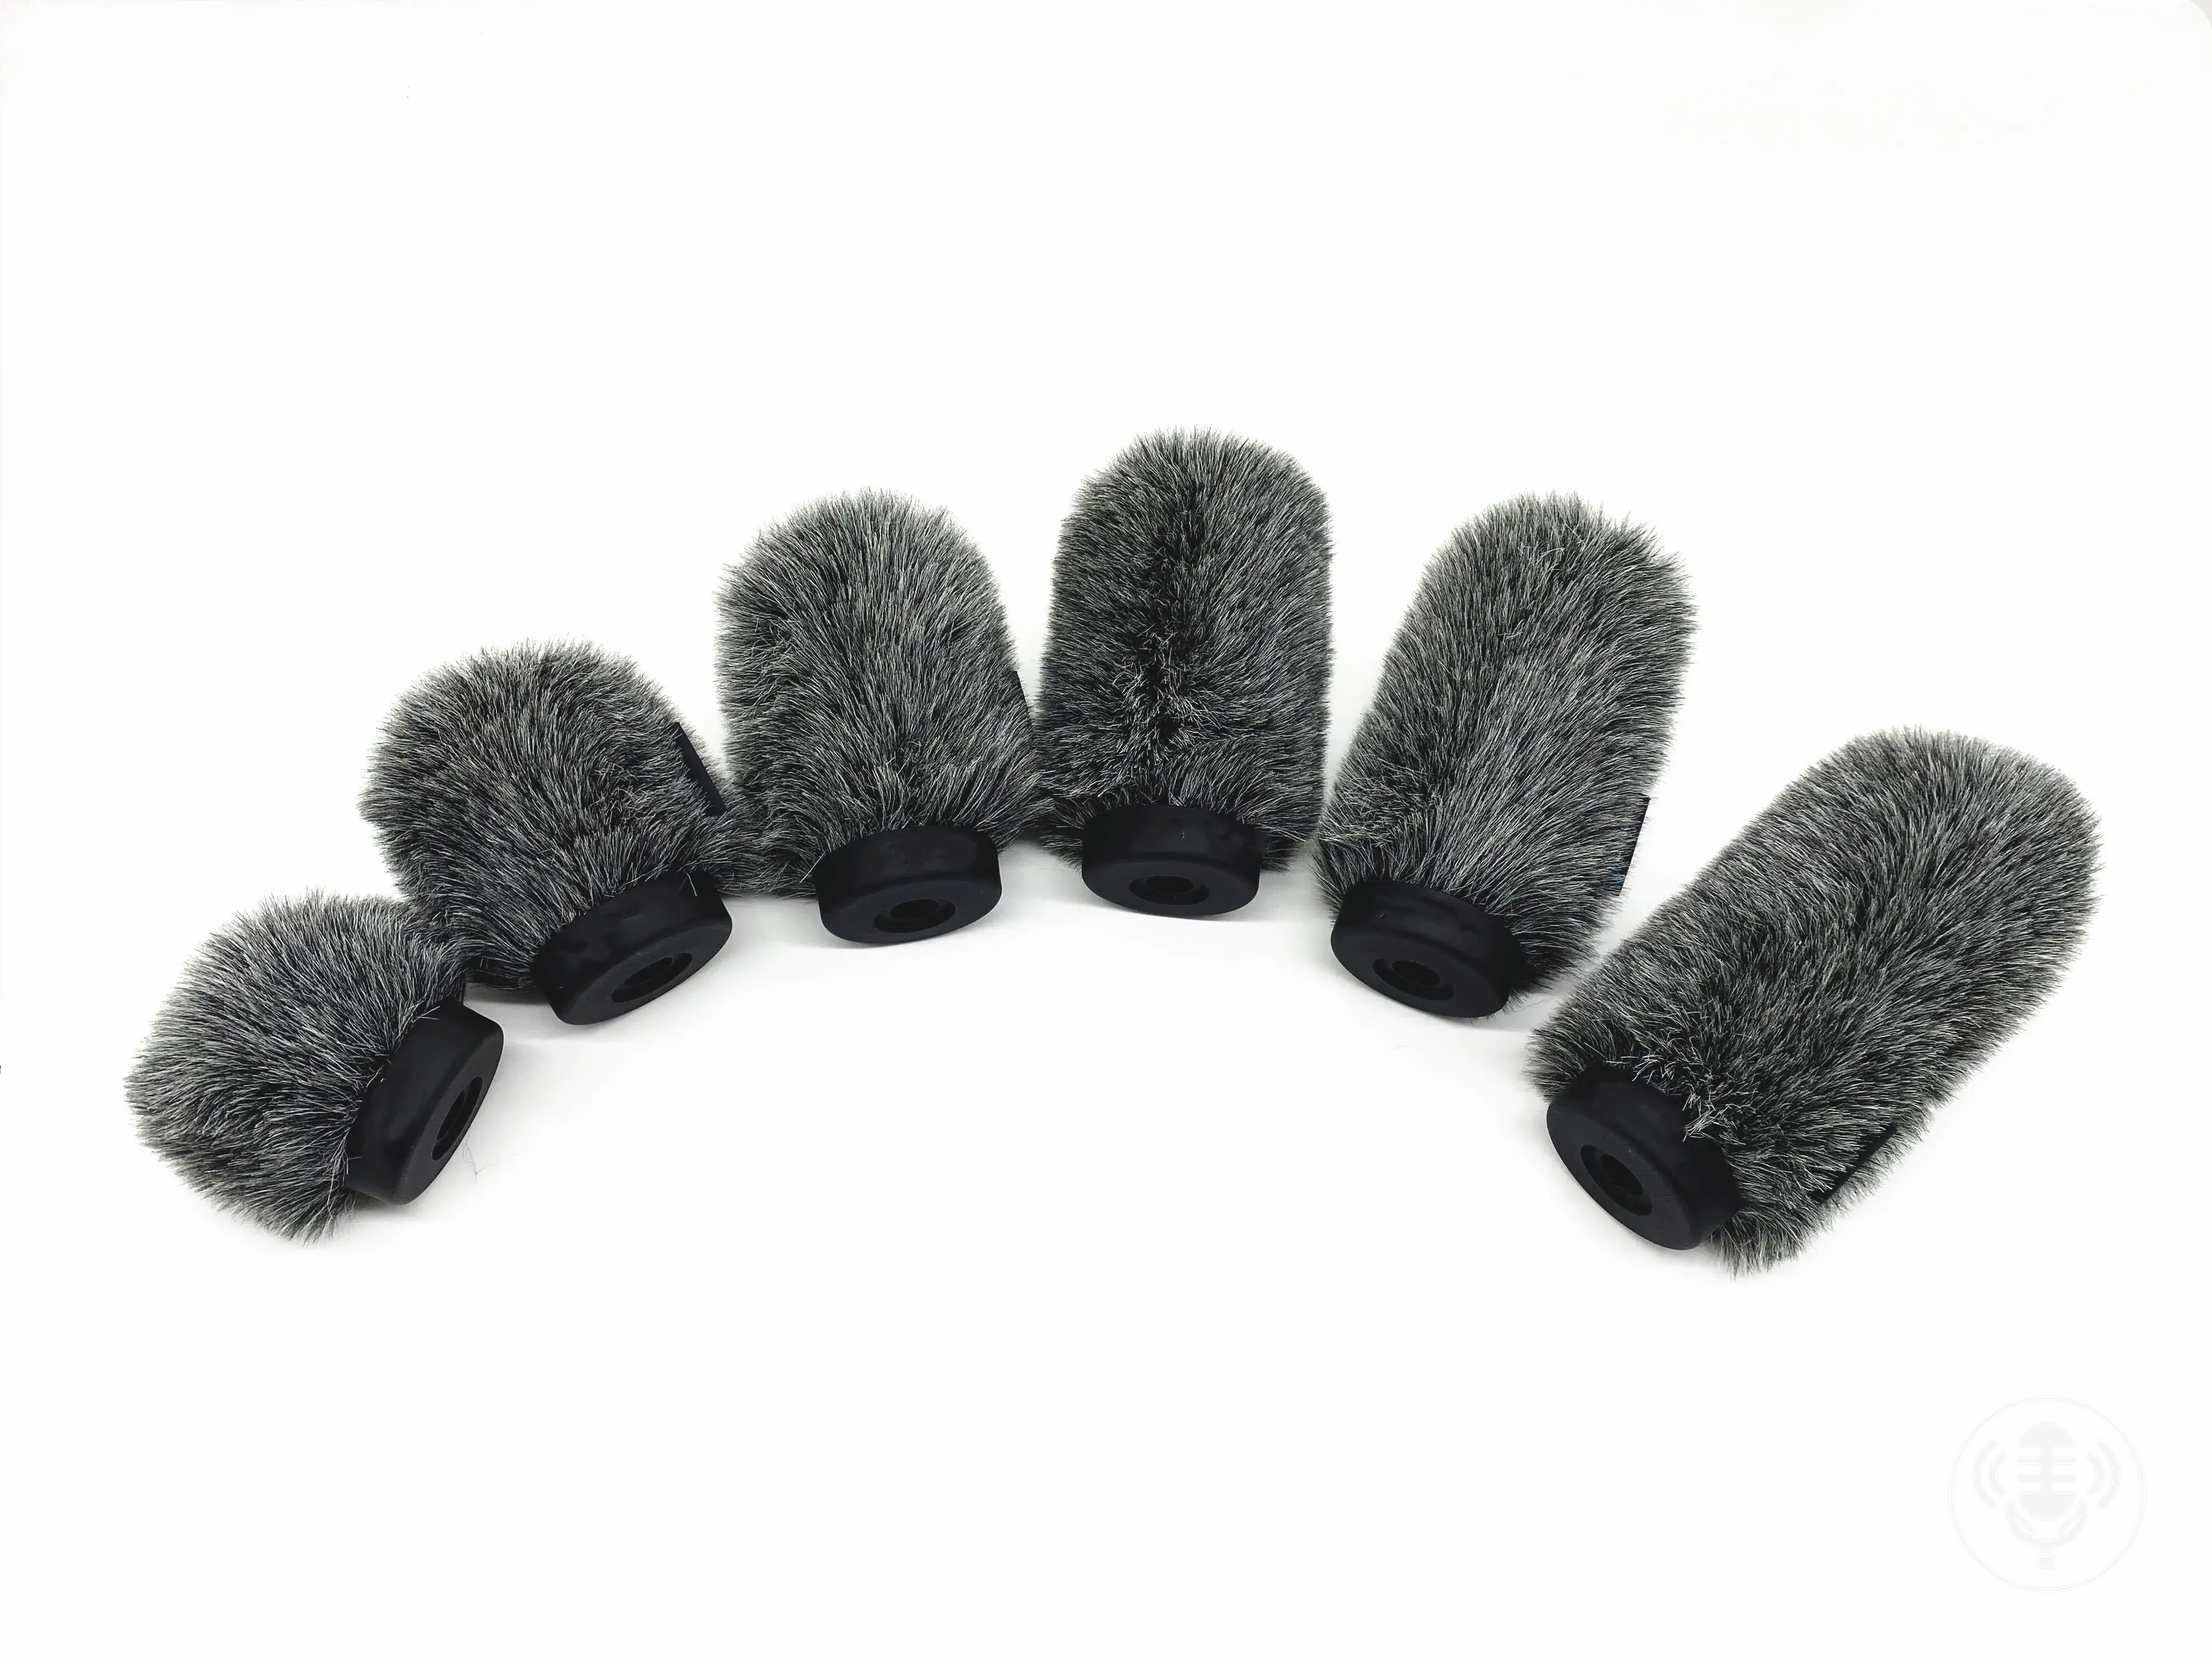
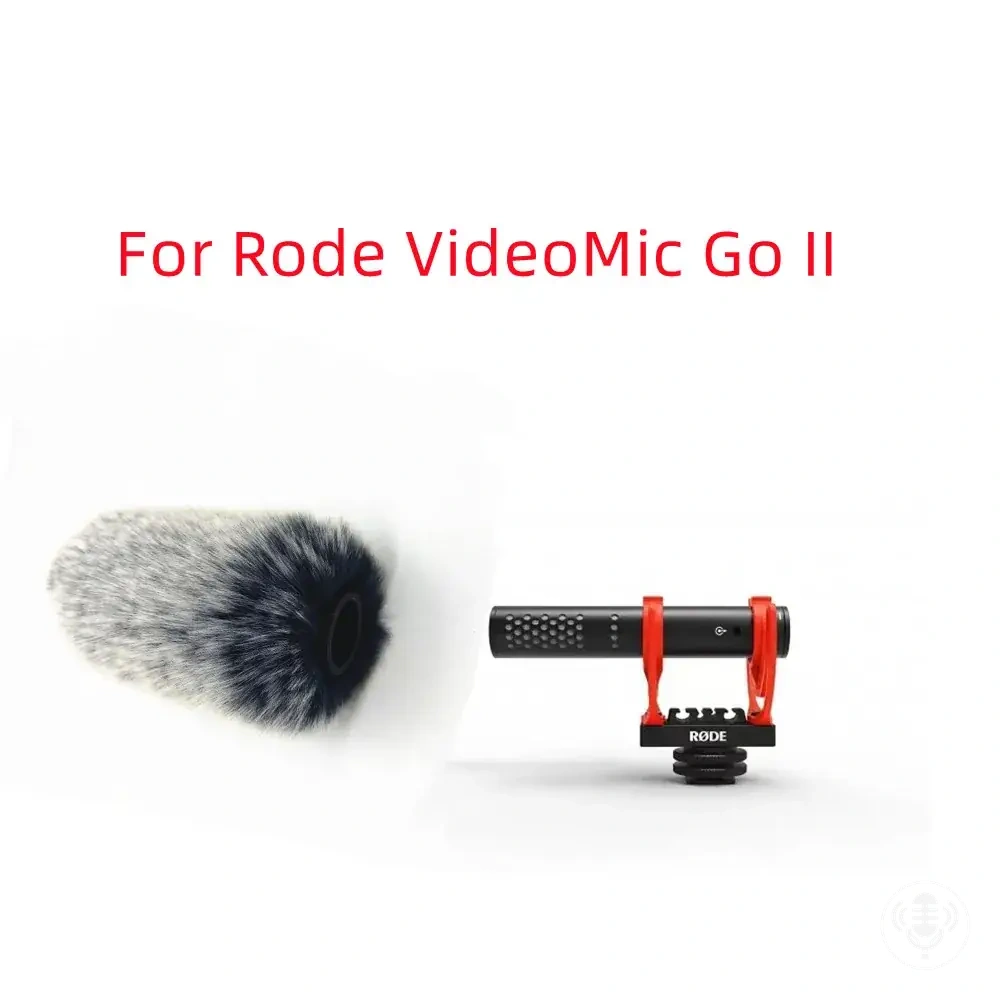
Furry windscreen
Blimp windshield
Decision rule: if exposure increases or wind noise remains after correct fit and positioning, use a more substantial protection class; if shelter or orientation reduces the exposure, heavier protection may not be necessary.
Wind protection works by reducing disruptive airflow and pressure changes around the microphone capsule before they become recorded noise; fit, positioning, and monitoring determine whether the selected protection remains adequate in the field.
Wind protection reduces wind noise by disrupting moving air before rapid pressure changes act directly on the microphone capsule. The windscreen creates a calmer region around the capsule so the diaphragm responds more to wanted sound and less to wind-driven pressure fluctuation.
Wind reaches the microphone
Direct or turbulent airflow produces changing pressure around the capsule and diaphragm.
The windscreen disrupts the airflow
Foam, fur, or a blimp reduces how abruptly moving air reaches the protected microphone.
Wind artifacts are reduced
Lower pressure disturbance at the capsule means less wind-driven rumble or gust-related bursting in the recording.

RØDE describes strong air movement across a microphone diaphragm as producing low-frequency vibration that can appear as rumble, bursts, or other disruptive artifacts. Turbulent airflow reaching the capsule can therefore become recorded noise rather than part of the intended acoustic scene.
Wind protection is not completely acoustically neutral: DPA Microphones notes that it can affect a microphone's frequency response. No universal amount of wind-noise reduction should be assumed, because effectiveness changes with protection type, fit, wind direction, and exposure.
Choose the protection level by matching wind exposure to the least burdensome option that remains adequate for the microphone and recording condition. Foam suits sheltered light airflow, fur adds protection for moderate outdoor wind, and a blimp creates a larger protected air space for stronger exposed conditions.

The comparison below links each protection class to its practical use, benefit, and limitation. Microphone design, wind direction, exposure, and fit can change which class is adequate, so the categories should not be read as fixed wind-speed ratings.
| Protection type | Wind condition | Practical benefit | Limitation |
|---|---|---|---|
| Foam windscreen | Sheltered conditions with light airflow at the microphone | Provides a simple barrier where direct wind exposure is limited | Offers less protection as direct or turbulent wind exposure increases |
| Furry windscreen | Moderate outdoor wind with greater direct exposure | Adds coverage that disrupts more moving air before it reaches the microphone | Adequacy still depends on coverage and fit around the microphone |
| Blimp windshield | Stronger, exposed wind conditions | Uses a basket and surrounding air space to provide greater separation between direct airflow and the microphone | Adds physical size and must be sized and configured to fit the microphone |
If the recording position becomes more exposed or gust-related artifacts appear, progress to a more substantial protection class after checking fit and positioning. If shelter reduces direct exposure, the same microphone may need less protection.
Wind strength guides the choice together with exposure and fit; it is not a universal threshold on its own.
Use a foam windscreen for sheltered light airflow when it fits securely over the intended capsule area. The foam should provide full intended coverage while leaving required ports and acoustic openings unobstructed.
Foam is basic protection: if direct or turbulent airflow becomes more exposed or persistent, or monitoring reveals wind artifacts, move to a stronger protection class rather than relying on a fixed wind-speed threshold.

Use a fitted furry windscreen for moderate outdoor wind with greater direct exposure than basic foam can comfortably handle. The cover should remain securely seated, with the fur in usable condition and clear of exposed acoustic openings.
Suitability still depends on the microphone geometry, cover fit, fur condition, and actual exposure. If the material rubs against the microphone or the wind becomes stronger, correct the fit or move to a more protective system.

Use a blimp windshield when a shotgun microphone faces stronger exposed wind and benefits from an enclosing basket with air space around the microphone. An outer fur layer can add another barrier to airflow when the system is designed for it.
The microphone should remain secure and clear of the basket, with its acoustic openings unobstructed. A blimp adds physical size and does not correct handling noise or poor positioning, so geometry, mounting, clearance, and exposure still determine whether it is appropriate.

Wind protection is compatible only when it provides both physical fit and acoustic clearance. Diameter and length must suit the mounting area, while capsules, interference-tube slots, ports, and other required openings remain unobstructed.
Check compatibility
A size match alone is not enough: a windscreen can fit the microphone body yet be unsuitable if it blocks an acoustic opening, rubs against the capsule, or cannot attach securely. Verify dimensions, opening positions, clearance, and attachment together rather than inferring compatibility from a product name or category.
A shotgun microphone fits a blimp when its dimensions suit the enclosure, its acoustic openings stay clear, and the mount holds it securely with surrounding basket clearance.
Connector type, brand family, or microphone category alone does not establish physical compatibility. Even when a blimp is described as compatible, verify the microphone dimensions, opening locations, mounting position, and basket clearance before use.
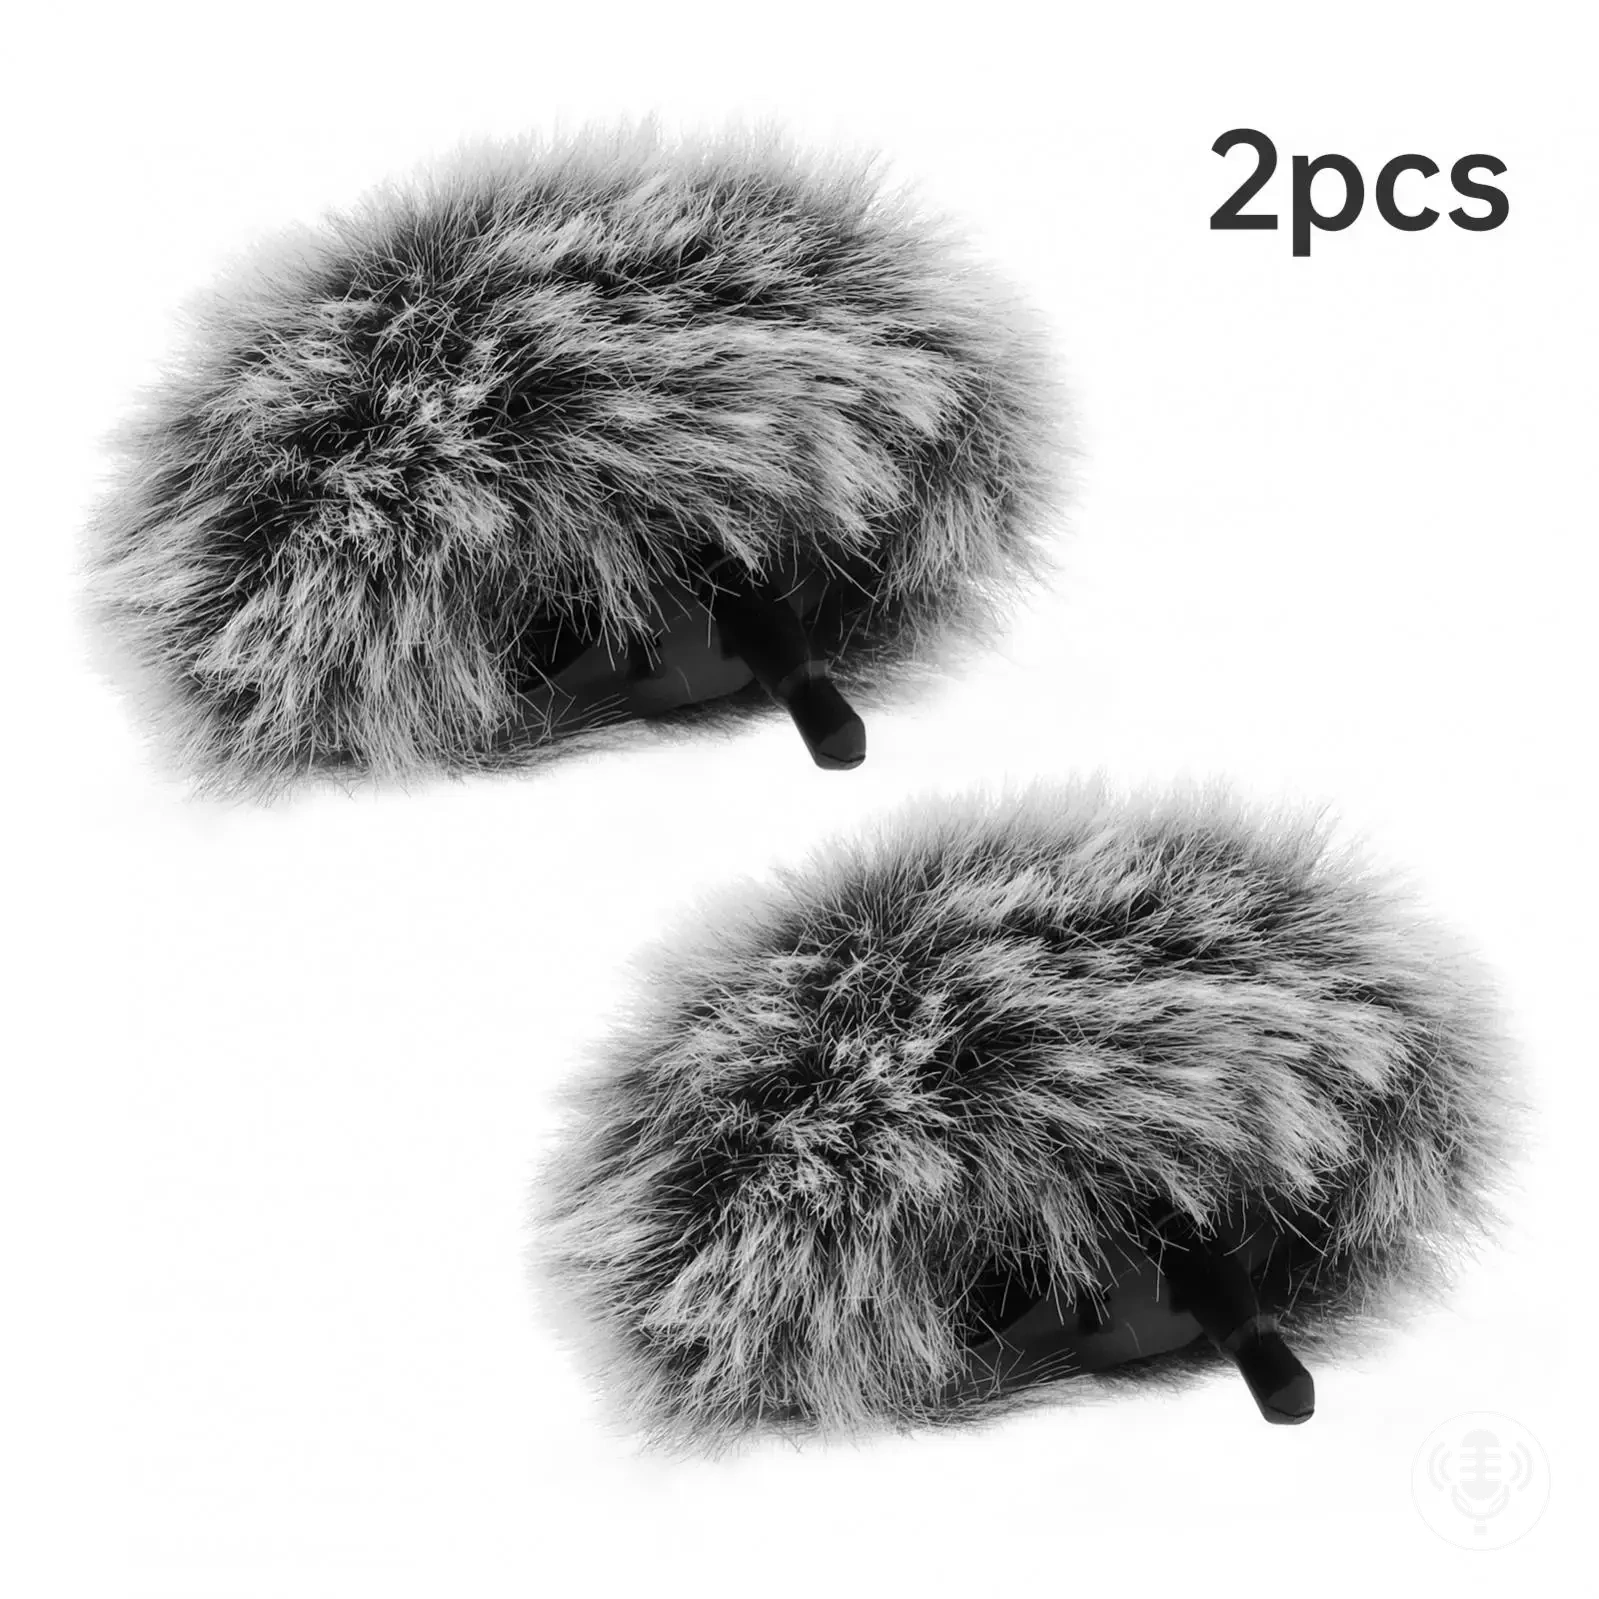
A fitted windscreen for a portable recorder should match the arrangement of its built-in microphones so the capsules receive the intended coverage without obstruction or rubbing.
Because built-in microphone layouts vary by recorder, model-specific geometry matters more than accessory category alone; check the actual cover shape, attachment location, and available clearance.
Fit wind protection so it remains secure and correctly oriented while maintaining clearance around the capsule, interference tube, and other acoustic openings. Do not force an accessory whose shape or attachment does not suit the microphone.
Correct any contact or movement before recording, then confirm that the protection remains secure and clear of the microphone's acoustic openings.
Reduce direct wind exposure by adjusting microphone orientation and placement without sacrificing the intended sound field. Positioning can lower the burden on the wind protection, but it complements rather than replaces adequate protection.
Orientation
Use wind direction and wanted-sound direction together. Reorient only when the recording target remains acceptably captured.
Shelter or wind shadow
A suitable nearby barrier can reduce direct airflow when it leaves a clear acoustic path to the sound source.
Avoid turbulent edges
Stay away from exposed corners, gaps, and barrier edges where redirected airflow can become turbulent and reach the microphone.
Choose the sheltered position from the actual wind direction and the wanted sound field, then monitor the result. A location that looks sheltered can still be poor if turbulence is redirected toward the microphone.
Monitor for wind noise as conditions change, especially low rumble or bursts that coincide with gusts. When an artifact appears, check what changed before altering the setup.
Match the symptom to the changed condition
Use the smallest adjustment that addresses the changed condition: reposition the microphone when orientation increases exposure, reseat protection when fit has shifted, or move to a more substantial protection class when the existing system is no longer adequate. Monitor again after every change.
The products below are useful examples for comparing available wind-protection options; they are not substitutes for checking fit and suitability for your microphone.
Before you choose