
How to Set Up Field Recording Equipment Before Recording
Set up field recording equipment by checking the complete microphone-to-recorder signal path: power and writable media, secure mounting, a compatible connection, the intended input and active track, the required microphone-power state, usable gain with headroom, and both meter and headphone monitoring. The setup is ready only when a short test recording plays back the intended source on the intended track without a problem that needs correction.
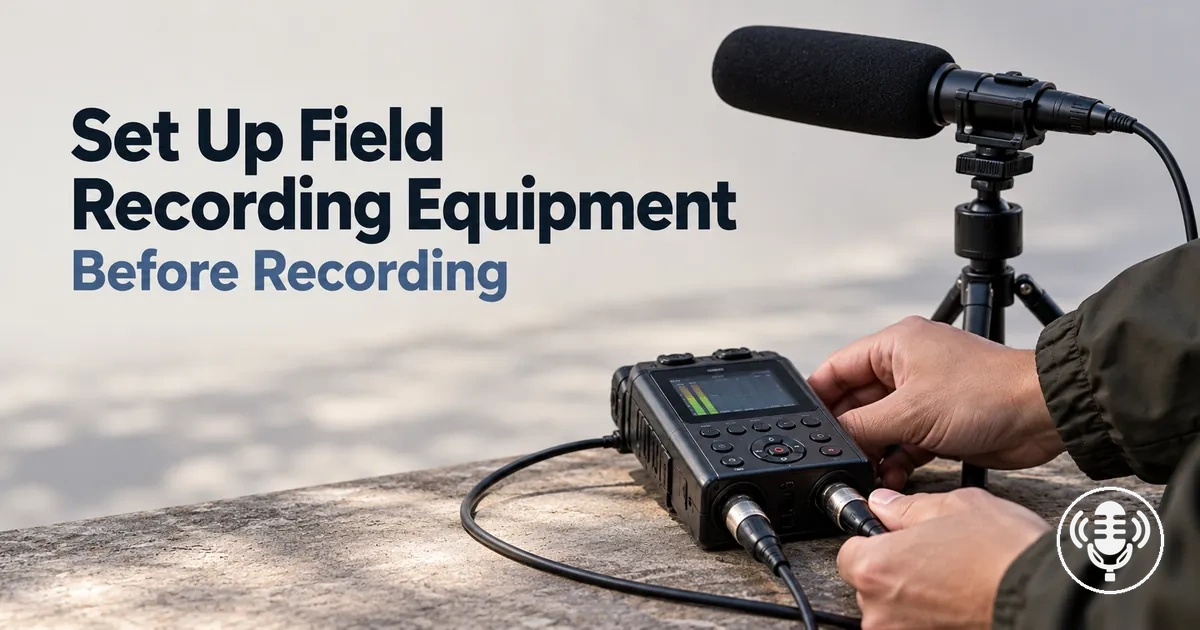
Exact connector wiring, microphone-power requirements, menu names and gain behaviour depend on the microphone and recorder model, so verify the required state at each stage instead of assuming one universal control layout.
Table of Contents
Prepare the Recording Equipment for Connection
Prepare the field recorder, microphone, required cable or adapter, power source, writable recording media, and mounting hardware before making the signal connection.
Each required component should be present and usable so a missing prerequisite does not interrupt later signal testing.
The field recorder needs usable power and recording media it recognises with enough free capacity for the planned test and take; the microphone, cable or adapter, and mounting hardware must match the intended equipment and remain secure and accessible for setup.

Model-dependent prerequisites include battery type, recording-media requirements, connector format and wiring, adapters, and microphone power. If the recorder cannot accept or supply a required condition, that signal path is not ready to use.
Connection prerequisites
- Field recorder: Confirm that it powers on and that the controls and intended input are accessible for the later setup steps.
- Microphone: Confirm that it is ready for use and that any power it requires can be supplied by the intended recorder or connection equipment.
- Cable and connector: Confirm that the required cable or adapter is present, undamaged, and compatible with the microphone output and intended recorder input; a connector that does not match the required interface blocks the intended signal connection.
- Power source: Confirm that usable power is available for the recorder and any component that requires it during setup and testing, without extending this readiness check into battery-runtime planning.
- Recording media: Confirm that the recorder has writable recording media with available space, using internal or removable storage according to the recorder design.
- Mounting hardware: Confirm that any required mount or support holds the microphone or recorder securely while leaving necessary controls and connectors accessible.
Mount and Position the Microphone and Recorder
Secure the microphone and field recorder so the physical setup is stable, the microphone has a usable orientation toward the sound source, and the recorder controls remain accessible.
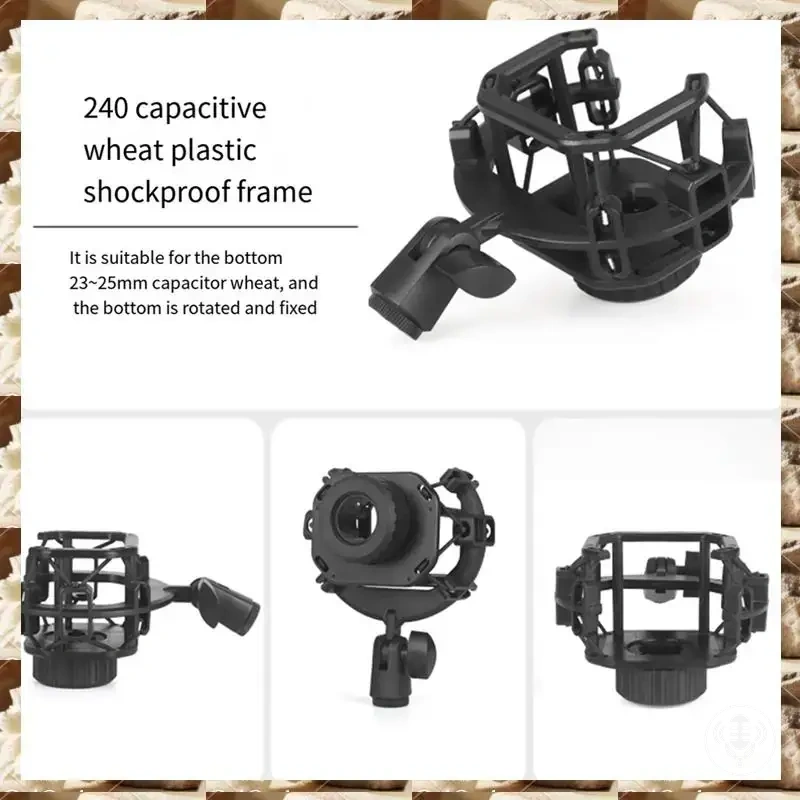
When a shock mount is used, seat the microphone securely in it and place the stand or grip on stable support so movement at the support is less likely to transfer mechanically toward the microphone.
Leave enough cable slack for the intended arrangement so movement does not place obvious tension on the connector.
Before finalizing the signal path, check stability, orientation, control access, and cable strain together.

For a particular sound source, set the microphone orientation, angle, and distance according to the source direction, the microphone's pickup pattern, and the recording environment.
Changing any of these conditions can change which placement is appropriate, so stable support and usable orientation are required while the exact angle and distance remain source- and microphone-dependent.
Fit suitable wind protection before recording when wind or moving air is likely to strike the microphone.
- Secure the microphone support: Seat the microphone correctly in its shock mount when one is used, and place the stand or grip on stable support so the assembly remains secure during normal operation.
- Position the field recorder: Secure the field recorder in its recorder mount or on stable support with the display, controls, inputs, and monitoring connection accessible for later setup.
- Relieve cable strain: Route the microphone cable with enough cable slack for the intended microphone and recorder positions so ordinary movement does not pull directly on either connector.
- Set the microphone orientation: Point the microphone according to its pickup pattern and the location of the intended sound source, then adjust its angle and distance for that source and environment rather than applying a fixed position.
- Check the physical setup: Confirm that the microphone and field recorder remain secure, the controls are reachable, the cable has no obvious connector tension, and the support does not create avoidable handling noise through looseness or instability.
Connect the Microphone Signal Chain to the Field Recorder
Connect the microphone output or wireless receiver output, cable or adapter, field recorder input, required microphone-power state, and intended channel as one compatible signal chain.
The output must route to a recorder input designed to receive that connection, while phantom power or plug-in power applies only when the connected microphone and input support and require that power condition.
XLR, 3.5 mm, and wireless-receiver paths can therefore require different connectors, wiring, and power conditions.
The complete path is microphone output or receiver output → cable or adapter → compatible field recorder input → intended channel.

A connector that physically fits does not by itself establish the correct signal, wiring, and power conditions.
An XLR microphone path, a 3.5 mm microphone path, and a wireless receiver output must each be connected according to the output, recorder input, wiring, and power requirements of the devices involved; phantom power and plug-in power are separate conditions and should be used only where the connected equipment requires and supports them.
For example, a physically fitting adapter does not establish compatibility if its wiring or power arrangement differs from what the microphone output and field recorder input require.
Verify that signal from the connected microphone or receiver reaches the intended recorder input and channel before moving on.
- XLR-type wired path: Route the microphone output through the appropriate XLR cable to a field recorder input that supports that connection, and use phantom power only when the microphone requires it and the selected input is designed to provide it.
- 3.5 mm or mini-jack path: Confirm that the microphone output, cable or adapter wiring, field recorder input, channel arrangement, and any plug-in power requirement agree with the connected devices rather than treating the connector shape alone as sufficient.
- Wireless-receiver path: Treat the wireless receiver output as the source feeding the recorder, and connect it with the cable or adapter required by the receiver output and field recorder input while keeping any device-specific channel or power conditions intact.
- Identify the output: Determine whether the recorder will receive the microphone output directly or the output of a wireless receiver, then identify the connector, wiring, and power conditions specified for that output.
- Select the recorder input: Use a field recorder input that supports the output and connection type being used, including the required channel arrangement when the connection carries more than one channel.
- Connect the signal path: Join the output to the recorder input with the appropriate cable or correctly wired adapter, keeping XLR, 3.5 mm, and wireless-receiver connection requirements distinct.
- Set microphone power when required: Enable phantom power only when the connected microphone requires it and the selected input supports it; use plug-in power only when the microphone and recorder input require and support that condition.
- Confirm the intended channel: Check that the connected microphone or wireless receiver produces a signal indication on the recorder channel assigned to that input before proceeding to later recording setup.
Configure the Recorder Inputs and Recording Settings
Configure the field recorder so the connected microphone is assigned to the intended input source and an active channel or track before adjusting recording levels.
A correct physical connection can still fail to record if the wrong input or channel is selected or the required track is not armed or enabled.
The recorder must route the selected input to the track that will receive the signal and place that track in an active recording state.
Check the input source first, then confirm the channel assignment and track arming or track-enable state.

Recorder controls differ by model, so configure microphone power, mono or stereo routing, and recording mode according to the connected microphone, incoming signal, and settings supported by the field recorder.
Apply phantom power or plug-in power only when the microphone requires that power type and the selected input supports it; likewise, route mono or stereo according to the incoming signal and the recorder's available channel arrangement.
Menu names and recording modes can differ, but the required state is that the selected input feeds the intended active track and the recorder is configured to capture it.
Recorder state verification
| Setting | Condition to verify | Practical effect |
|---|---|---|
| Input source | The selected source corresponds to the physical input receiving the microphone or receiver signal. | The field recorder routes the connected signal into the intended recording path. |
| Channel and track arming | The intended channel is assigned to a track that is armed or enabled for recording according to the recorder's terminology. | The intended track receives the routed signal and is active for recording. |
| Microphone power | Phantom power or plug-in power is active only when the connected microphone requires that power type and the selected input supports it. | The microphone receives the applicable power condition without treating microphone power as a universal setting. |
| Mono or stereo routing | The routing corresponds to the incoming mono or stereo signal and the channel arrangement supported by the recorder. | The input is routed to the intended channel or channel pair. |
| Recording mode | The selected recording mode supports capture from the intended input and active track configuration. | The configured track is available when recording begins. |
| Recording format | A recording format supported by the recorder and suitable for the intended capture is selected. | The recorder has a defined file format for the recording without requiring a broader format comparison at this stage. |
| Recording media | The required recording media is recognised by the recorder and available as the recording destination. | The field recorder has an active destination for captured audio. |
Treat recording format and recording media as setup checks at this stage rather than as a format-selection or storage-planning exercise.
Verify that the field recorder recognises the recording media and has a supported recording format selected for the intended capture, using the options provided by that recorder rather than assuming one format or menu path applies to every model.
Once the intended input source is routed to an active channel or track and the recorder is ready to capture it, proceed to recording-level adjustment.
Set Input Gain and Recording Levels
Set the input gain on the field recorder by reproducing the expected test source, watching the level meter, and adjusting the recording level so the loudest expected peaks retain practical headroom below clipping.
Use headroom rather than a universal meter target: source dynamics, recorder design and recording mode change how much gain is appropriate.
Test the expected source at a representative level and watch how its peaks behave on the meter.

A source with wider dynamics can produce stronger peaks relative to its quieter passages, so input gain that appears suitable during a quiet test can leave too little headroom when the source becomes louder.
Adjust the gain control from a representative performance and judge the recording level from the field recorder's meter response and monitored signal.
Gain behaviour can differ in recorder workflows such as 32-bit float, so apply the recorder's mode-specific guidance rather than transferring a conventional fixed-point target to every recording mode.
The practical aim is a usable monitored signal with headroom for the expected peaks, not one fixed meter number.
- Reproduce the expected source: Have the test source perform at a level and intensity representative of the material you expect to record, including likely louder moments so the test reflects its source dynamics.
- Observe the level meter: Watch the field recorder's level meter while the source continues and identify how the recording level behaves during its strongest representative peaks.
- Adjust input gain: Raise or lower the gain control until the signal is usable while the expected peaks retain headroom below clipping. In the conventional recording context described by ION Audio, its guidance places maximum input-meter levels between -12 and -6 dB; treat that range as source-specific guidance rather than a universal target for every field recorder or recording mode.
- Retest the louder passages: Repeat the representative source test after the gain adjustment and confirm that the expected dynamic peaks retain practical headroom rather than reaching clipping.
- Confirm recording-mode behaviour: If the field recorder uses a workflow in which gain handling differs, such as a 32-bit float mode, follow the recorder's mode-specific gain guidance while continuing to observe the source and level meter behaviour.
Monitor the Recording Signal Through Headphones and Meters
Verify the incoming signal with both the field recorder's level meters and headphones before recording.
- Level meters
- Use them to confirm that the intended channel is receiving signal, that routed channels behave as expected, and that representative peaks remain below the recorder's clipping indication.
- Headphones
- Use them at a comfortable monitoring level to confirm the intended source and channel and to hear distortion, unwanted noise, dropouts, handling sounds or another audible problem that meter activity alone may not reveal.
Run the Final Pre-Recording Check
The field recording setup passes the final pre-recording check only when it captures the intended source in a short test recording and plays that recording back as expected.
Before the real recording starts, confirm usable power and writable media, the intended input and active track, the correct microphone-power state when required, secure connections and mounting, acceptable level behaviour, reliable monitoring, and enough remaining recording time for the planned take.
Test the complete signal chain rather than treating a powered-on recorder or moving meter as proof of readiness.
Final pass-or-fix checklist
- Power: Pass when the field recorder and any required powered component have usable power for the planned recording; otherwise restore the required power before proceeding.
- Recording media: Pass when the field recorder recognises writable recording media and indicates sufficient capacity for the planned recording; otherwise correct the media condition before proceeding.
- Input and track: Pass when the intended input feeds the intended active track and produces the expected signal indication; otherwise correct the input or track selection.
- Microphone power: When the connected microphone requires recorder-supplied power, pass when the applicable microphone power state is active on the intended input; otherwise correct that state according to the microphone and field recorder requirements.
- Connections and mounting: Pass when connections remain secure and the microphone and field recorder remain stable in their intended positions; otherwise secure the affected connection or mounting point.
- Levels and monitoring: Pass when representative source peaks remain within the previously established recording level and headphone monitoring carries the intended source without an audible problem requiring correction; otherwise correct the observed level or monitoring condition before the test recording.
- Remaining recording time: Pass when the field recorder's remaining recording time, where displayed, is sufficient for the planned take; otherwise make sufficient recording-media capacity available before starting.
- Test recording and playback: Pass when a short test recording captures the intended source on the intended track and playback matches the expected monitored source; otherwise correct the relevant setup state and repeat the test.
The setup reaches readiness only when test recording and playback confirm that the intended source was captured as expected, not merely when the equipment appears active.
If playback reveals a mismatch, correct the relevant setup state and repeat the test recording; begin the real recording only after the repeated test passes this end-to-end check.
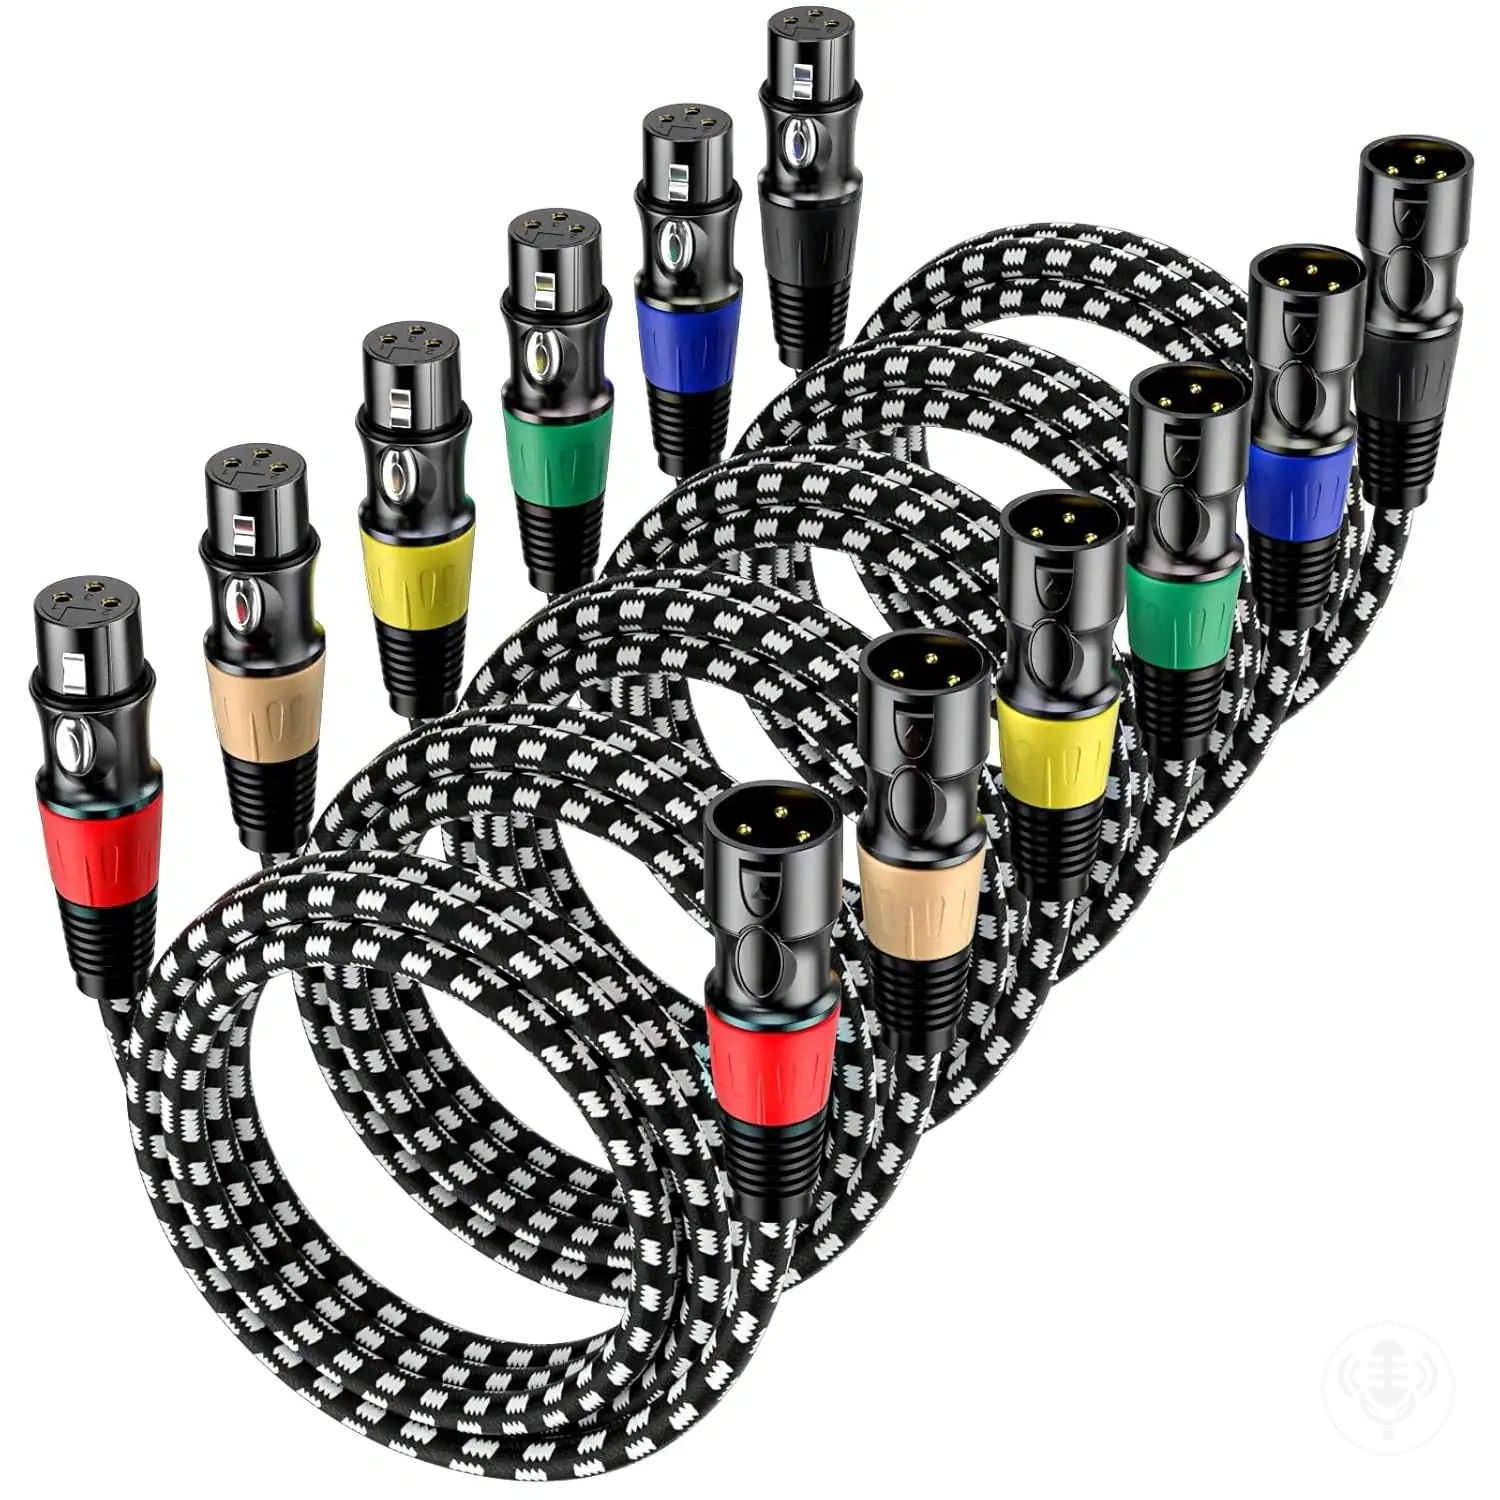
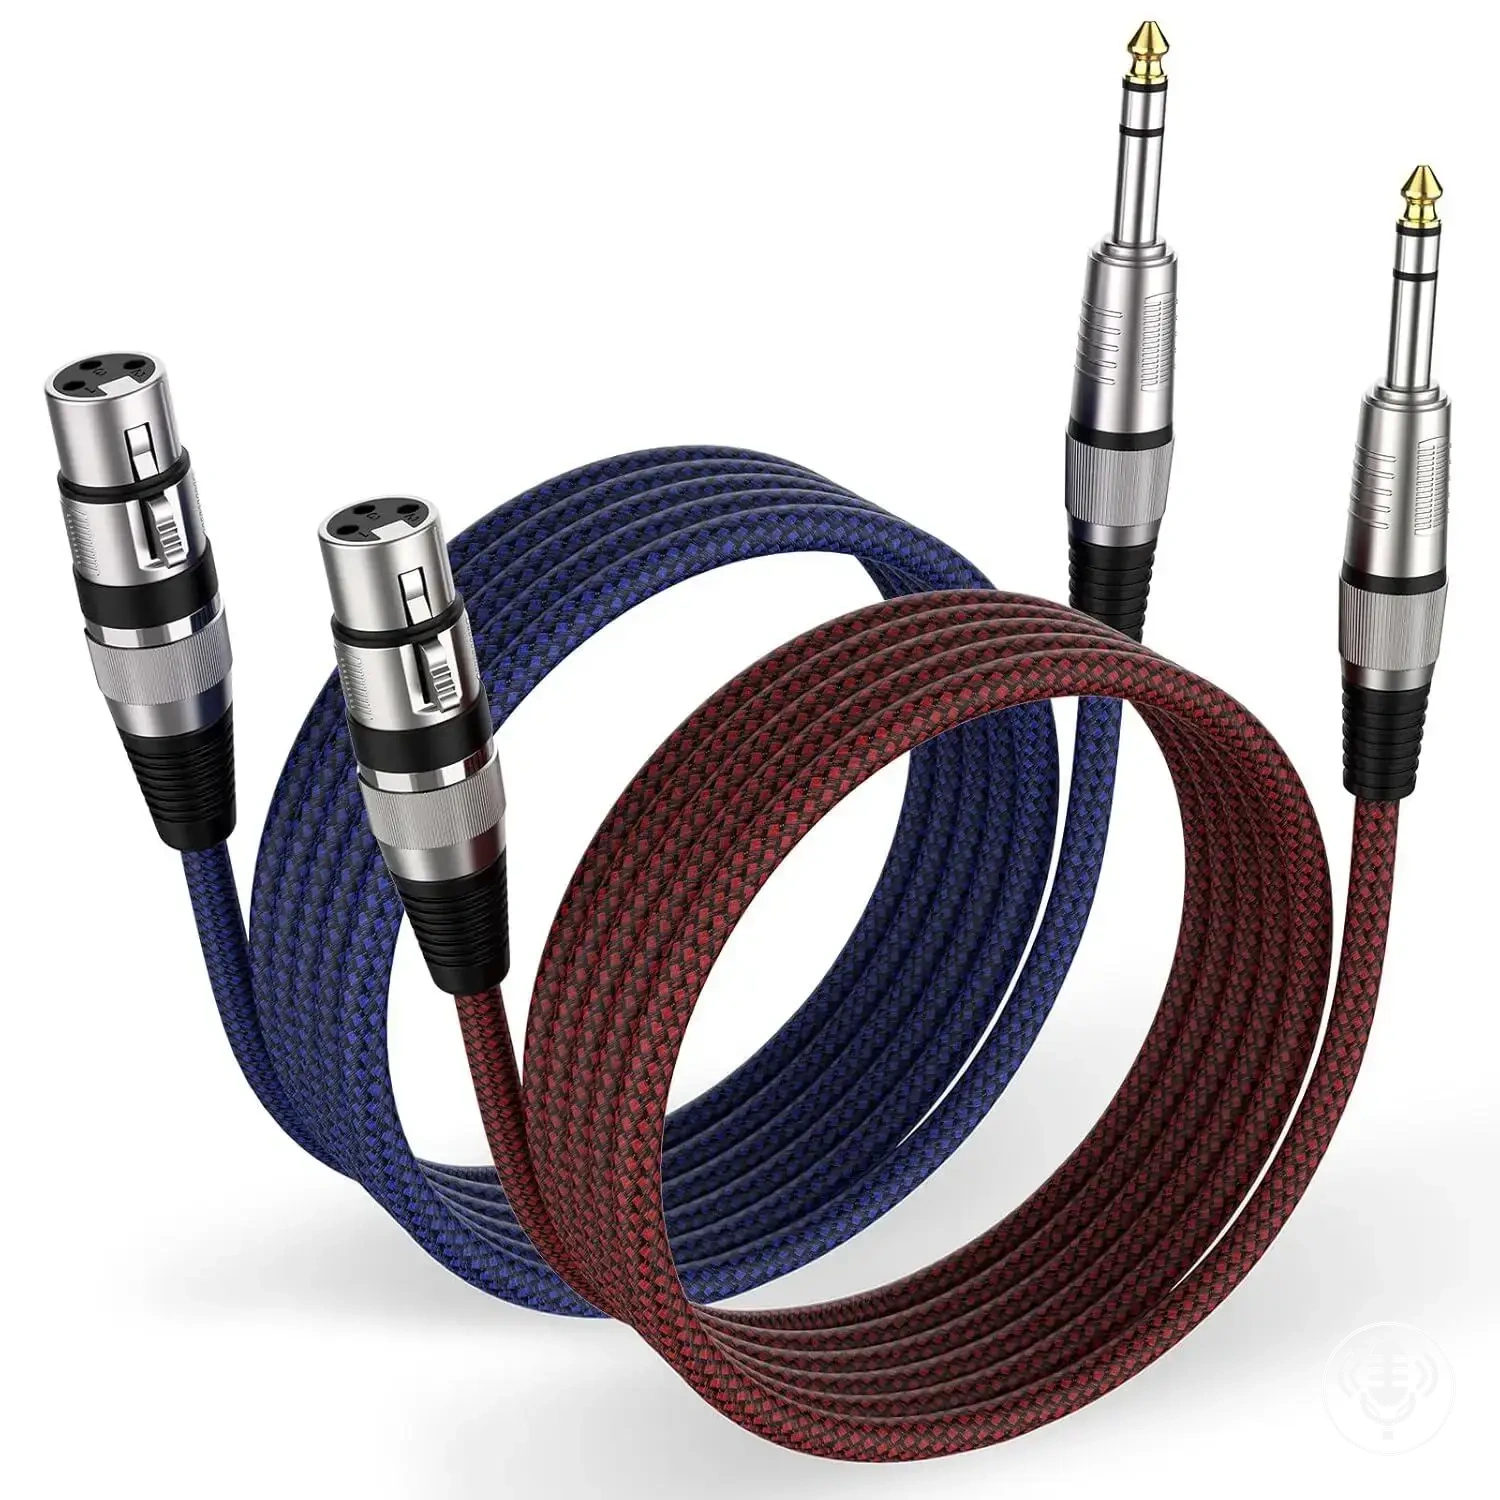
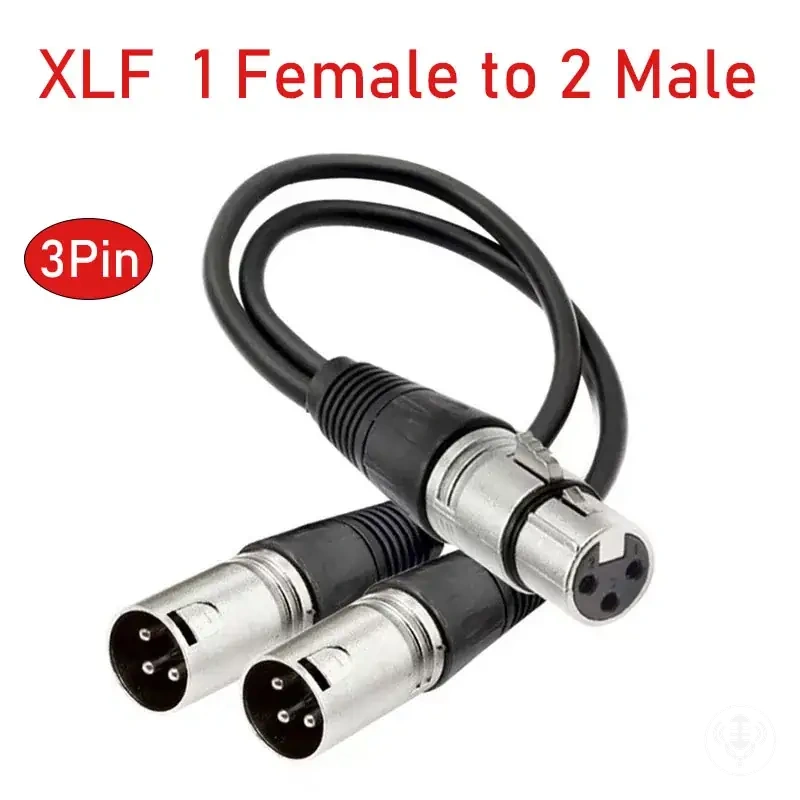
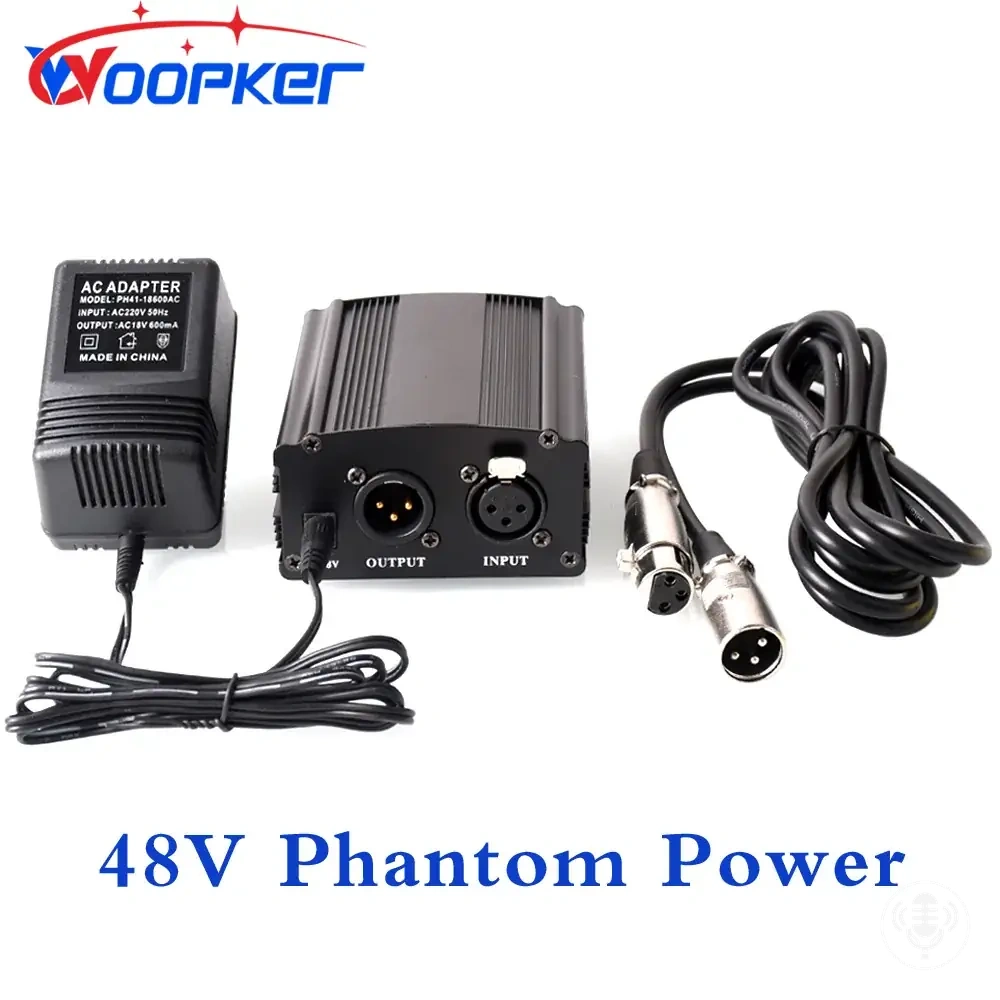
If the final check reveals a missing accessory, the examples below can help you compare cable, power and mounting options.
Before following a listing, verify the exact connector, wiring, microphone-power requirement and model compatibility against your field recorder and microphone.
Setup Mistakes to Catch Before Recording
A setup mistake found during the final pre-recording check should be corrected before the real recording starts, but a missing or poor signal does not by itself identify a deeper fault.
Focus first on local states that can be verified immediately, including the wrong input, incorrect track selection, missing microphone power where required, a loose connection, mute or hold states, an unsuitable recording level, monitoring the wrong channel, unstable mounting, or a skipped test recording.
These conditions can be identified and corrected within the setup workflow.
Use the following local mistake checks before moving beyond setup correction.
- Wrong input: If the intended signal is absent or appears on an unexpected channel, check the selected input against the physical connection and select the input receiving the intended source.
- Track selection: If the intended input is connected but the required track is inactive or the wrong track is selected, confirm the track selection and activate the intended recording track.
- Microphone power: If the connected microphone requires recorder-supplied power, check the applicable microphone power state on the intended input and correct it according to the microphone and recorder requirements.
- Loose connection: If monitoring reveals an intermittent signal, inspect the local cable and connectors for a loose connection and reseat the affected connection securely.
- Mute or hold: If a mute state blocks the signal or a hold state prevents the expected control operation, check the recorder controls and disengage the applicable mute or hold state.
- Recording level: If the recording level is unsuitable for the expected source, compare the meter behaviour with the level established during setup and correct the level before proceeding.
- Wrong monitored channel: If monitoring carries a different source from the one intended, confirm the monitored channel and select the channel carrying the intended source.
- Unstable mounting: If the microphone or recorder shifts from its intended position, secure the affected mount and confirm that the setup remains stable.
- Skipped test recording: If no test recording has been made, record a short test and listen to playback to confirm that the intended source and track were captured as expected.
Problems that remain after these setup corrections fall outside this local setup-mistake check and should not be assigned a specific cause from the symptom alone.
Persistent missing or intermittent signal, unwanted noise, or other unresolved behaviour should move to troubleshooting recording problems rather than expanding the pre-recording check.